Christmas is a Great Time to get Crafty!
As usual the year has whizzed by at lightning speed and somehow Christmas is right around the corner. While you may not be ready to face the reality of Christmas shopping and putting the tree up just yet, you may be keen for a little Christmas crafting.
Introducing our quick and easy Christmas Origami Bookmark DIY! This is no origami crane, it’s a fun little origami Christmas tree to get you fired up for Christmas. It’s quick, easy and made from simple items you should be able to find just lying around.
Origami Bookmark – What you will need:
- Green copy paper cut to 15x15cm or traditional origami paper (if you have it)
- Scissors
- A hole punch
- Various colours copy paper for decorations
- Yellow or white copy paper for the star
- A glue stick
Origami Bookmark Instructions:
1. Take a 15x15cm piece of copy paper and fold it in half diagonally (give it a fold both ways so you have a nice strong crease)
2. Fold back corner on one side – point should meet edge of paper
3. Take each corner at the base of the triangle & fold each up to the centre point, now you will have a square.
4. Your square will be left with two loose pieces, fold each of them in to themselves.
5. Now its time to cut your tree! We have cut a traditional tree design, but here is where you can let your imagination run wild!
6. Decorate! We used a small hole punch to create decorations out of various colours of copy paper and we cut a star from yellow copy paper.
7. Use your glue stick to stick your decorations where you’d like.
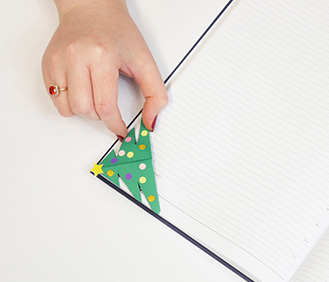
8. Once you’re done decorating it’s time to slide your bookmark in to place on your favourite notebook or diary
9. And you’re done!
No products were found with the applied settings


