There are so many reasons to feel hoppy when Easter rolls around. Whether it’s painting eggs, crafting handmade cards, or adorning bonnets, there’s no way to not feel inspired to get crafty. This year we’ve put together some easy Easter treat bags suitable for any age! These quick and easy to make adorable little Easter treat bags are ideal for hiding Easter surprises and getting kids excited about what’s inside!
So let their imagination “hop” as they let loose on these Easter treat bags, and let them personalise these by adding a ribbon, changing the Easter Bunny’s colours, and even using joggle eyes for a more animated look.
Eggs-cellent Easter Treat Bags
Instructions:
- Take a coloured A3 sheet and draw the shape of an egg using a pencil
- Carefully cut the drawn egg with a pair of scissors or cutter
- Now draw half egg shape the same size as the other egg you drew on the coloured sheet, but make the top uneven like the top of a cracked egg
- Cut it out and lay one jagged half egg on top of a whole egg you cut out earlier. Be careful to put the glues on the sides and leave the top open, as this will be your opening for your candy or toy
- Decorate it with colourful pom poms/ rhinestones or anything fancy
- To make your treat bag stand out, make a bow using ribbon and glue it in the middle
- Put some lollies or candies inside the pocket and be ready for the egg hunt!


Fluffy Bunny Treat Bag
Instructions:
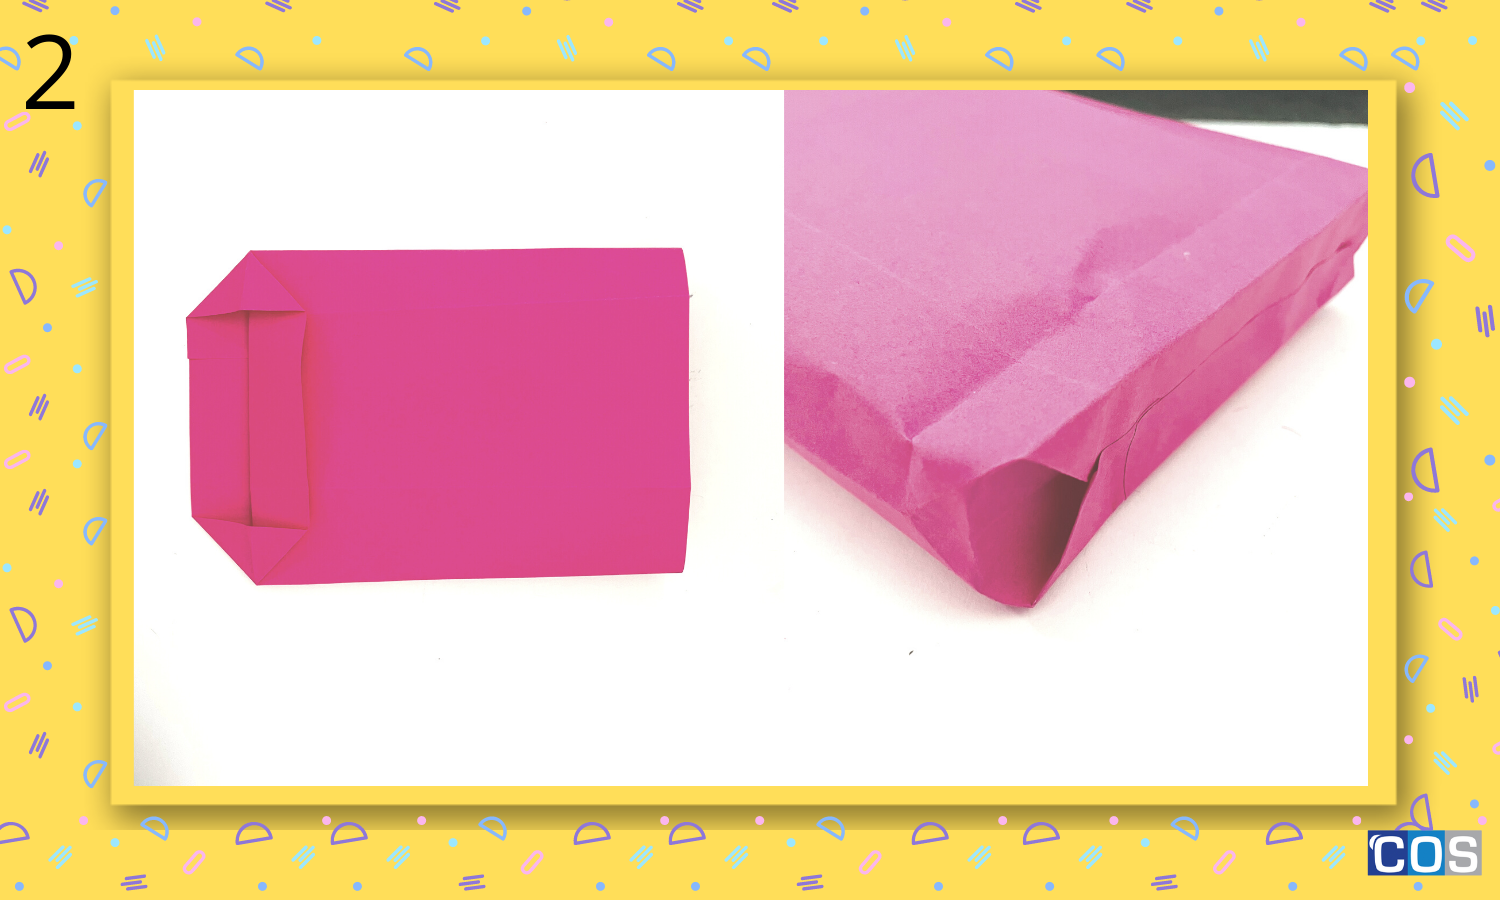
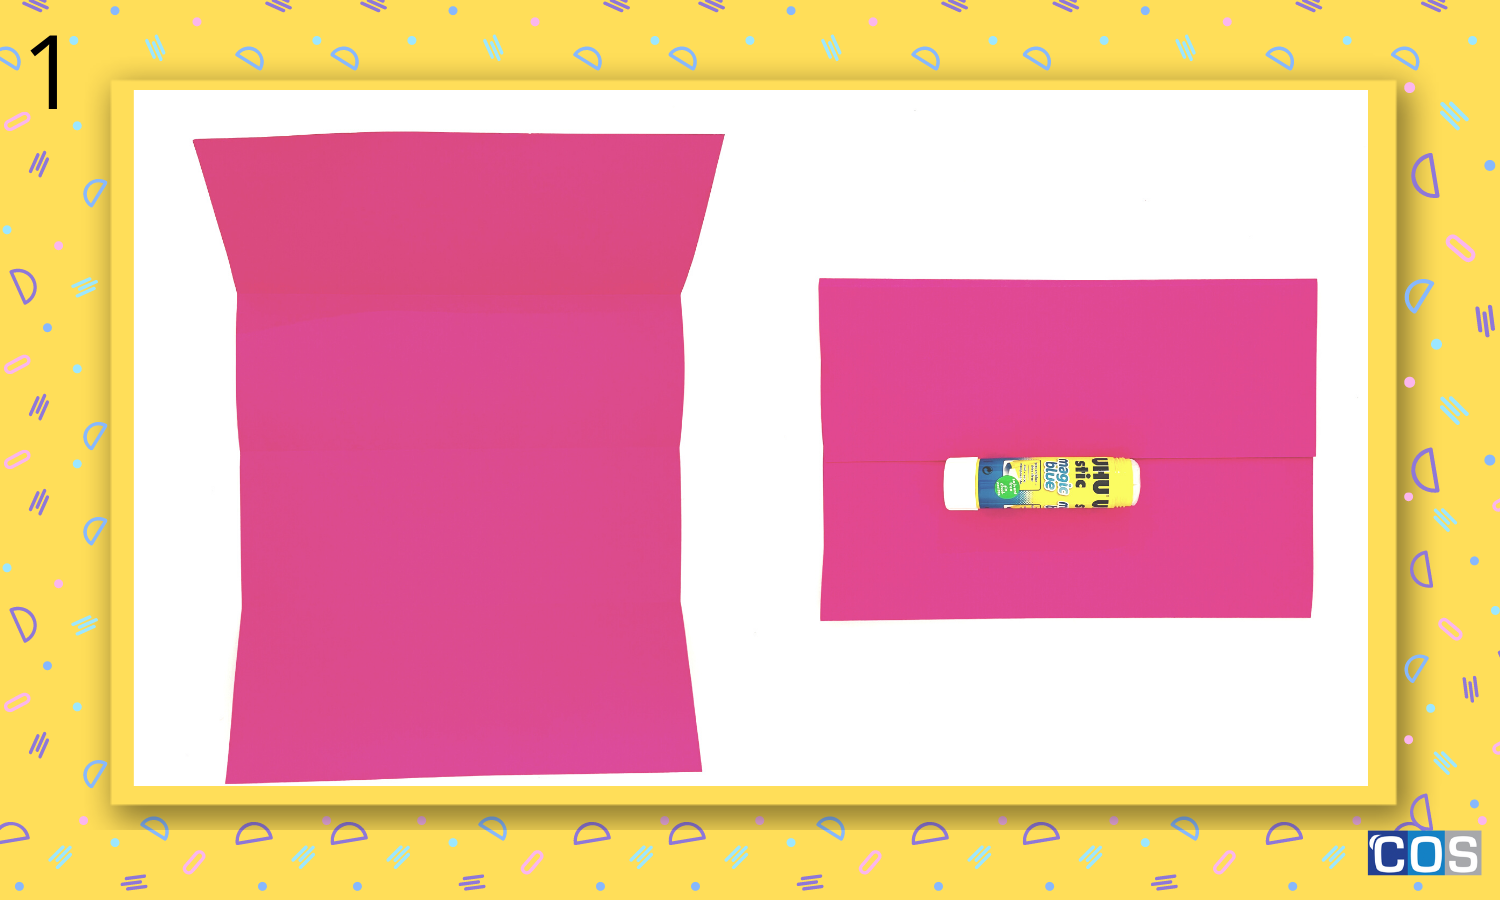
- Take a coloured A3 sheet and fold the craft paper in half horizontally, leaving a 1/2 inch margin on one side, as seen below
- Take a glue stick and apply it to the section that is 1/2 inches long
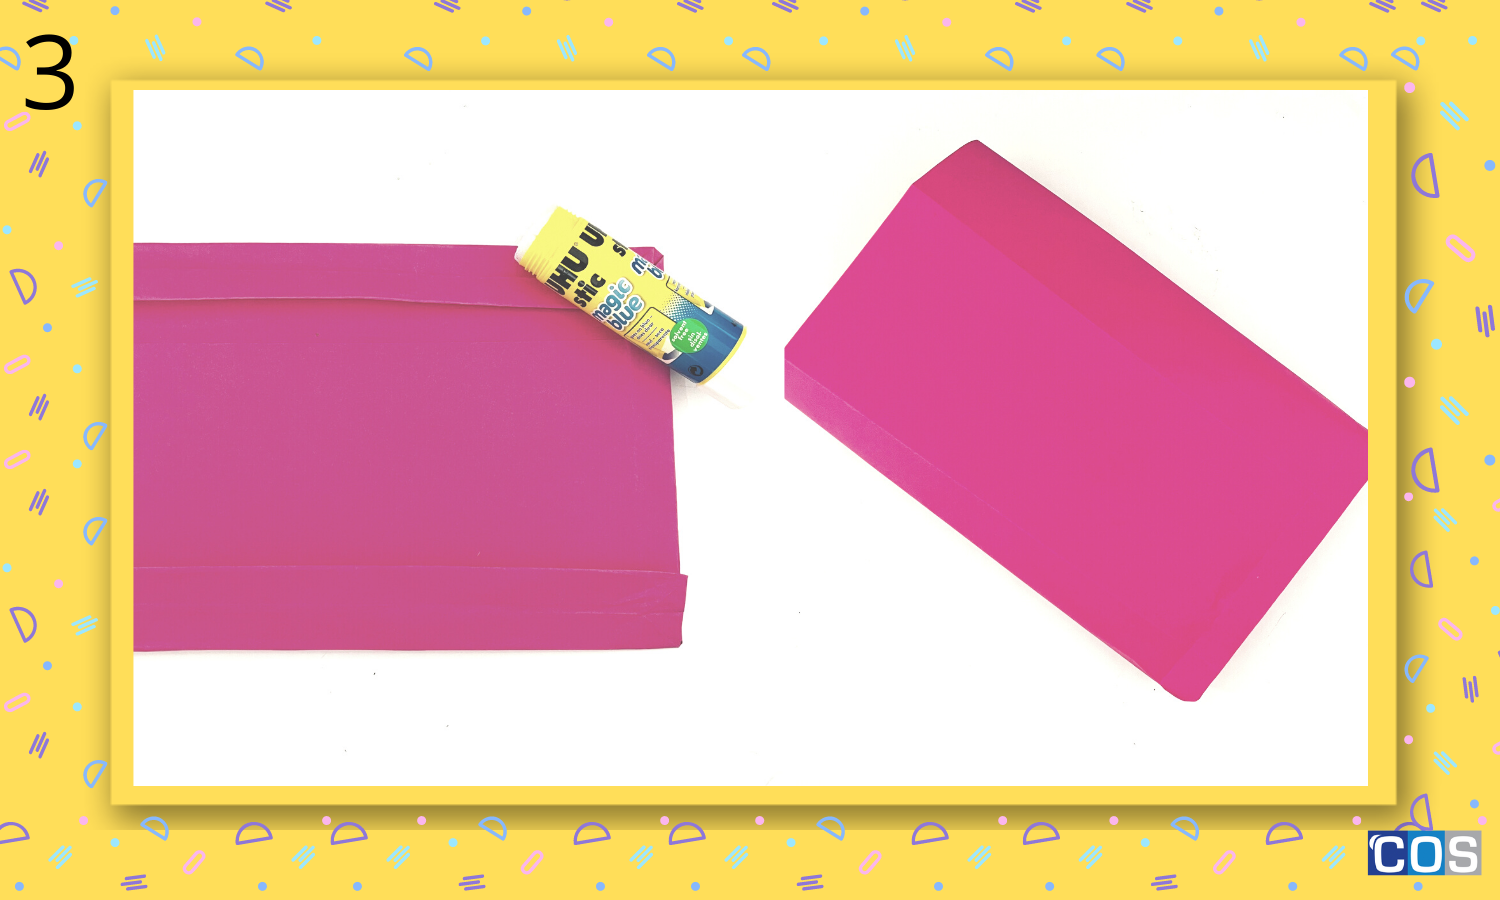
- To make the bottom of the bag fold the short side up about 2 inches
- Take a glue stick and apply on both sides and leave it for some seconds
- Fold the long sides of the bag as shown, matching the corners and this will create crease lines on the sides of the bag
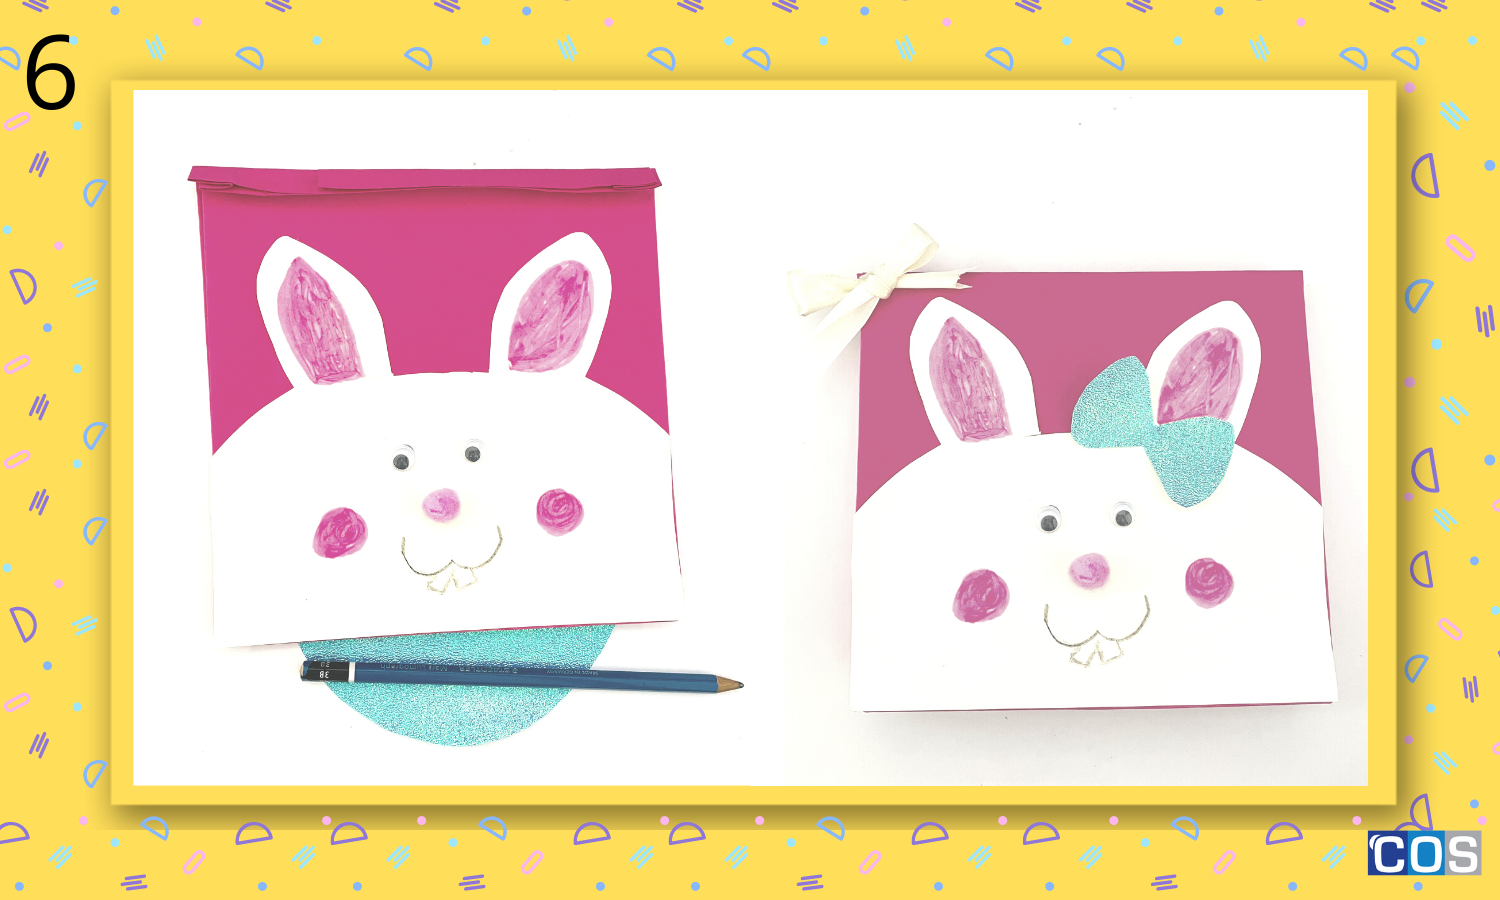
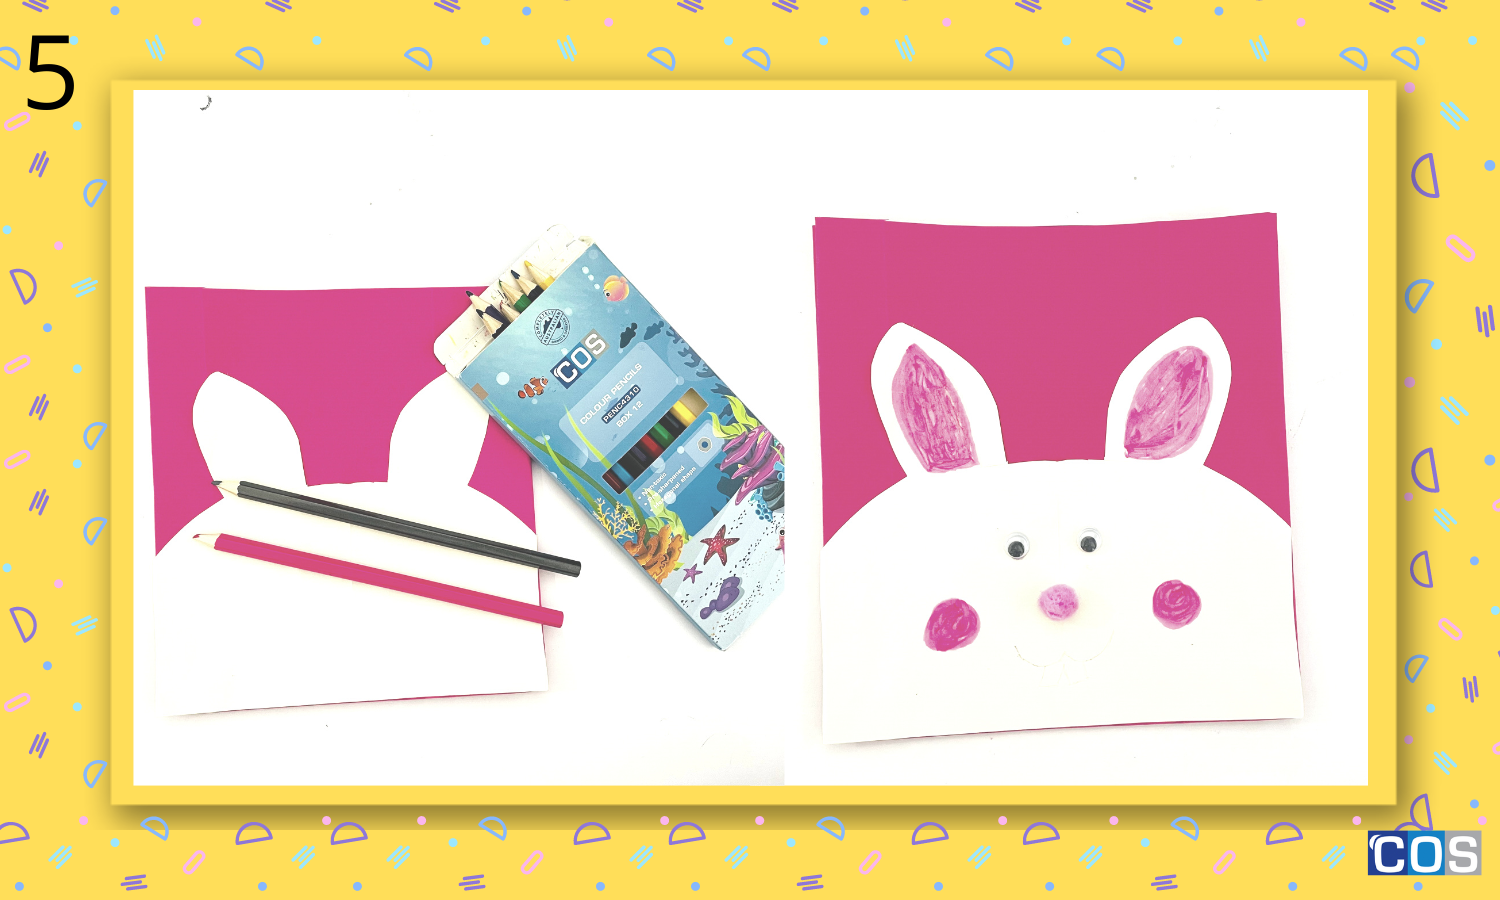
- Now take A4 coloured paper and draw a bunny on it, make sure the bunny is big enough to cover the sides
- Carefully cut out the bunny and stick it using a glue
- Time to add some colours, use pencil colours/ or crayons to make ears, cheeks, and teeth
- To give the bunny a cartoon appearance, use joggle eyes and a pom-pom for the nose
- To add more decorative elements, take glitter paper or coloured card to draw a bow and stick it near the ear
- Your fluffy little treat bag is ready for storing lollies!
Bunny Bag with Rhinestones
Instructions:
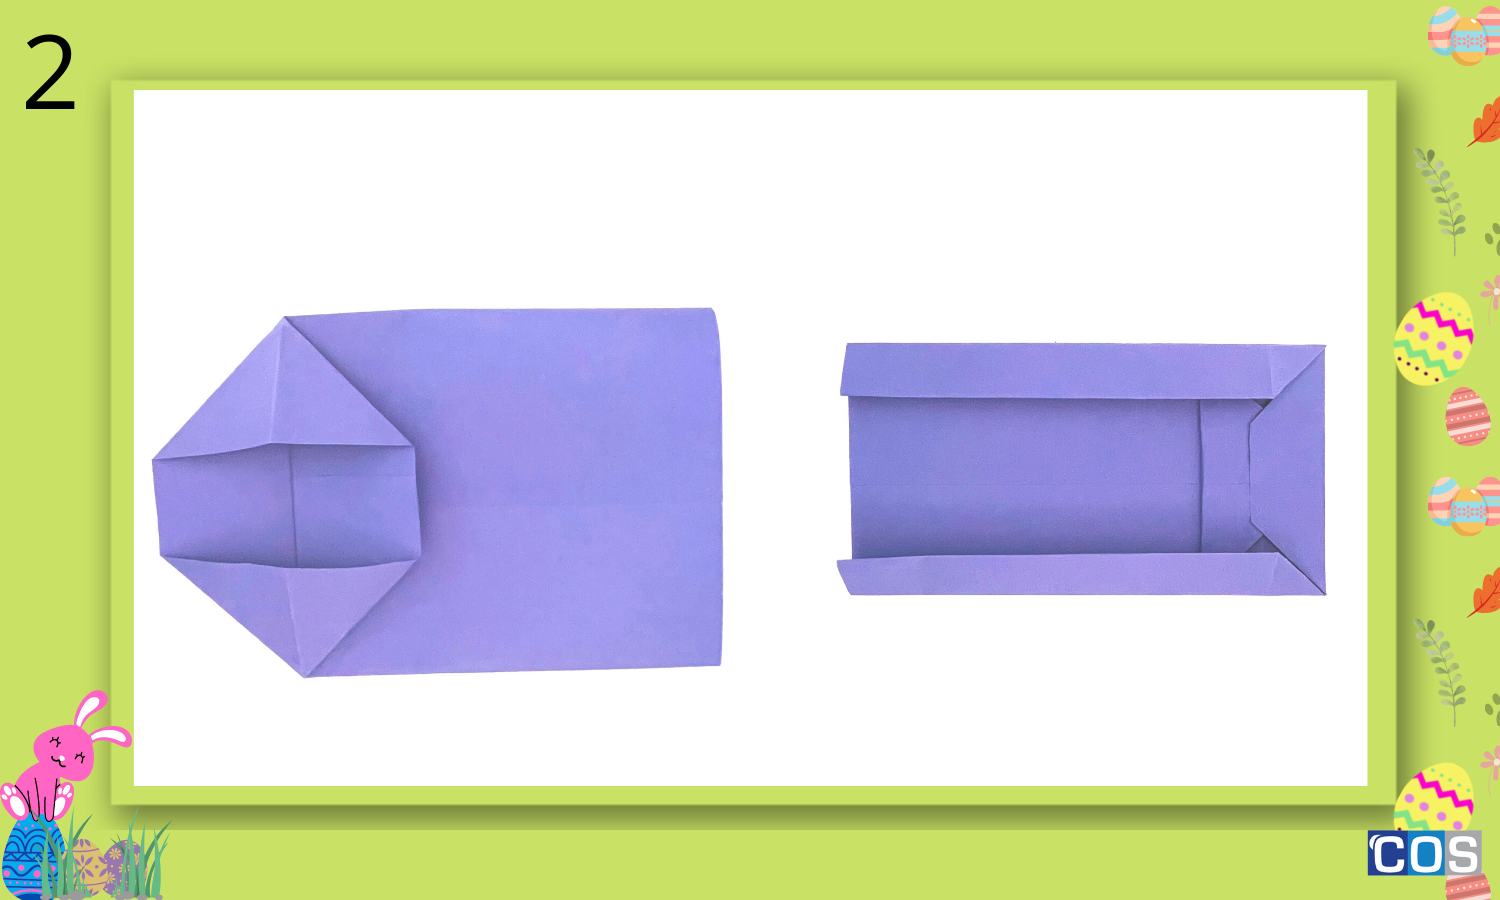
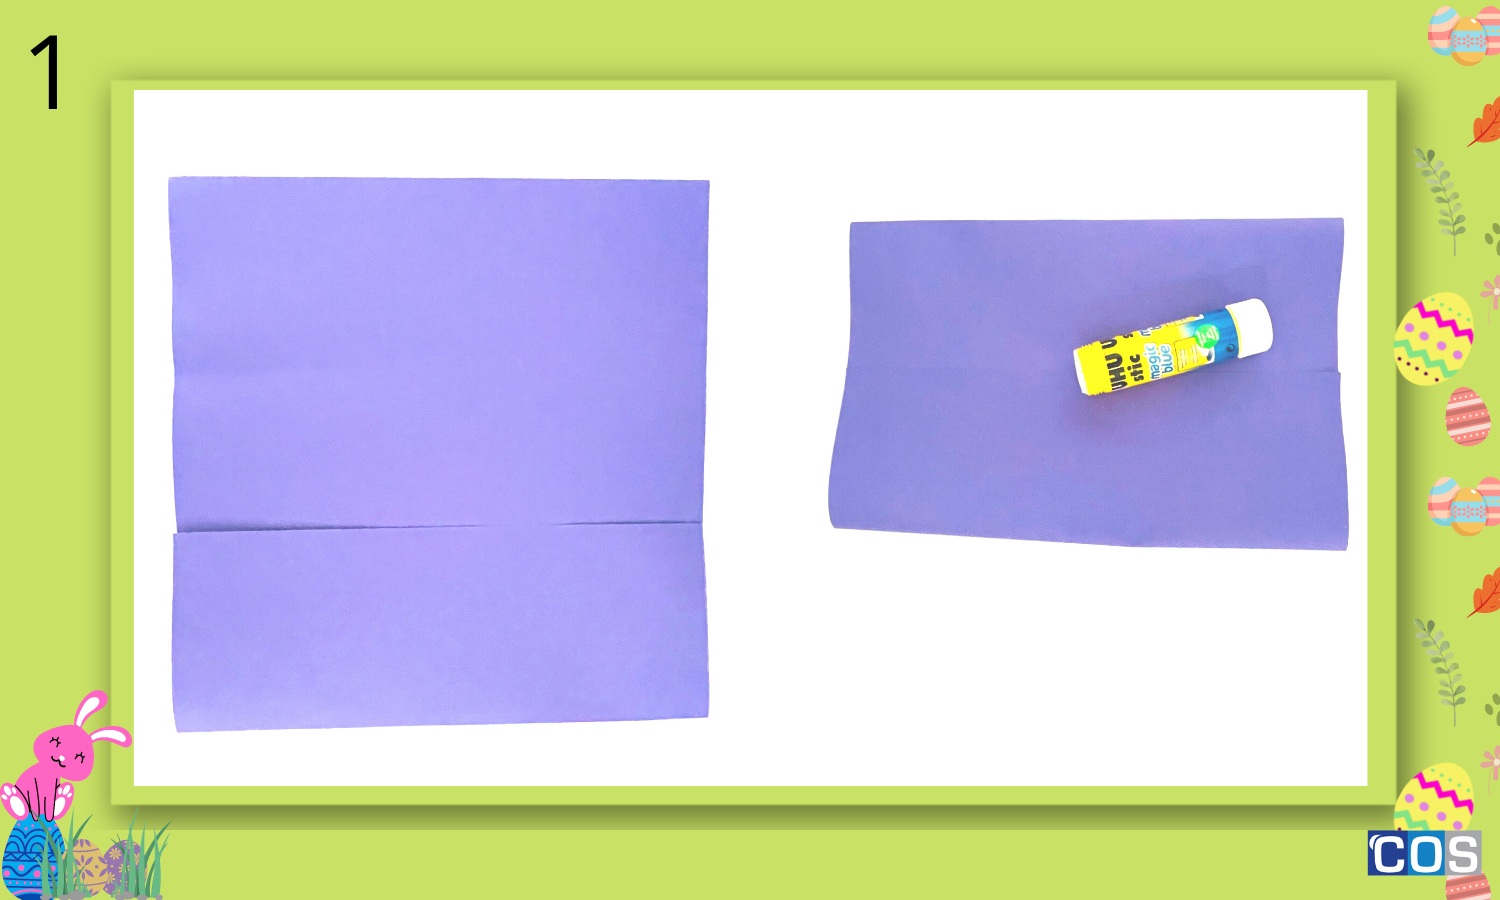
- Take a coloured A4 sheet and fold it in half horizontally, leaving a 1/2 inch margin on one side
- Take a glue stick and apply it to the section that is 1/2 inches long
- To make the bottom of the bag fold the short side up about 2 inches
- Flatten the open parts neatly. This will create 2 open sides, like flaps
- Glue the flaps to secure the bottom of the treat bag
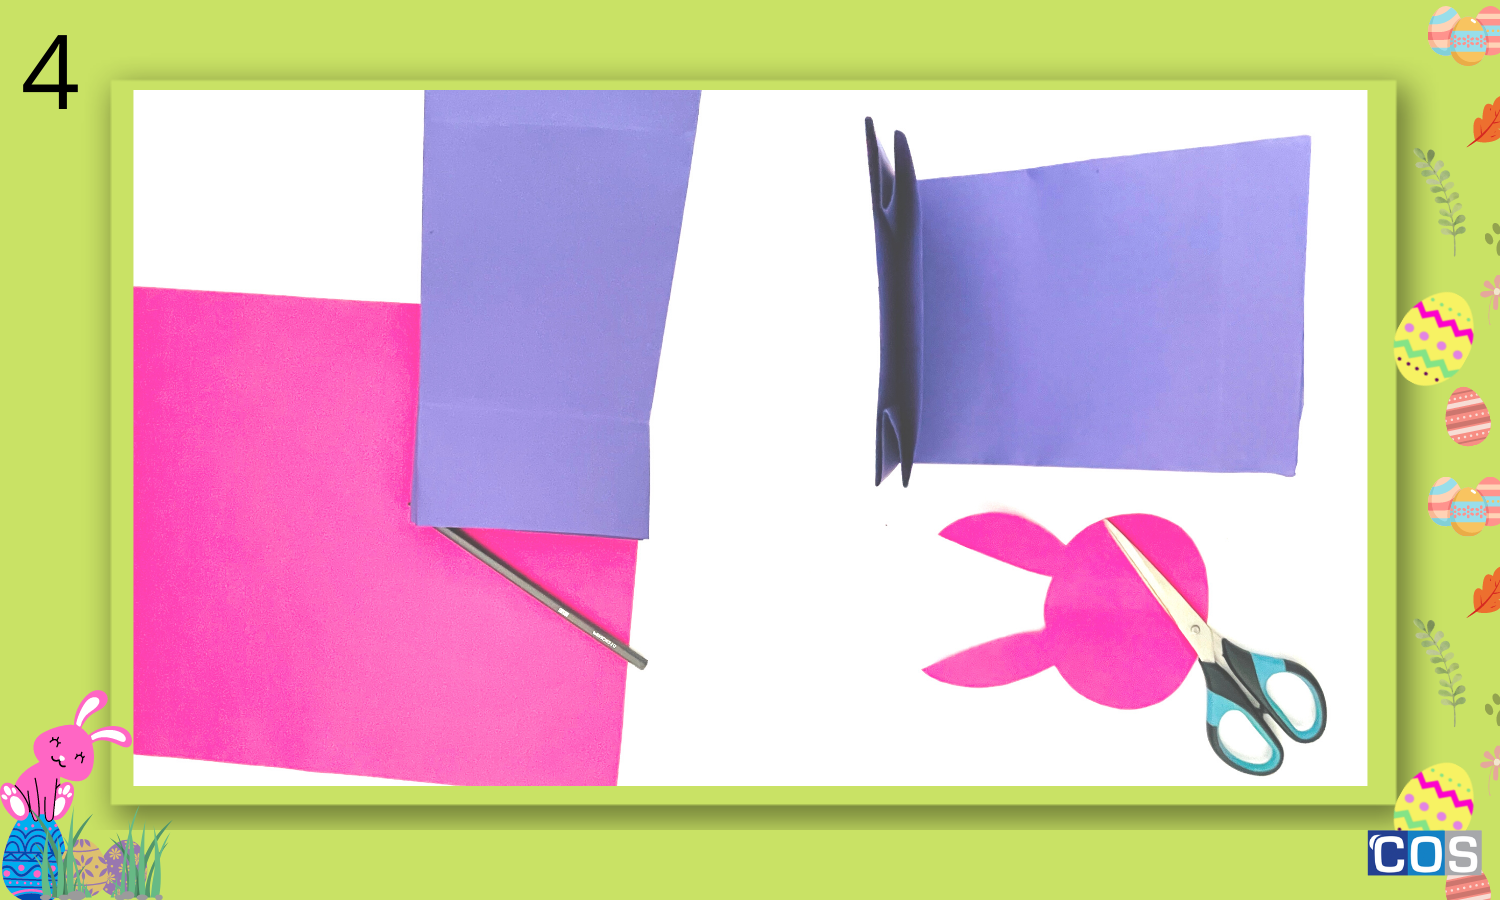
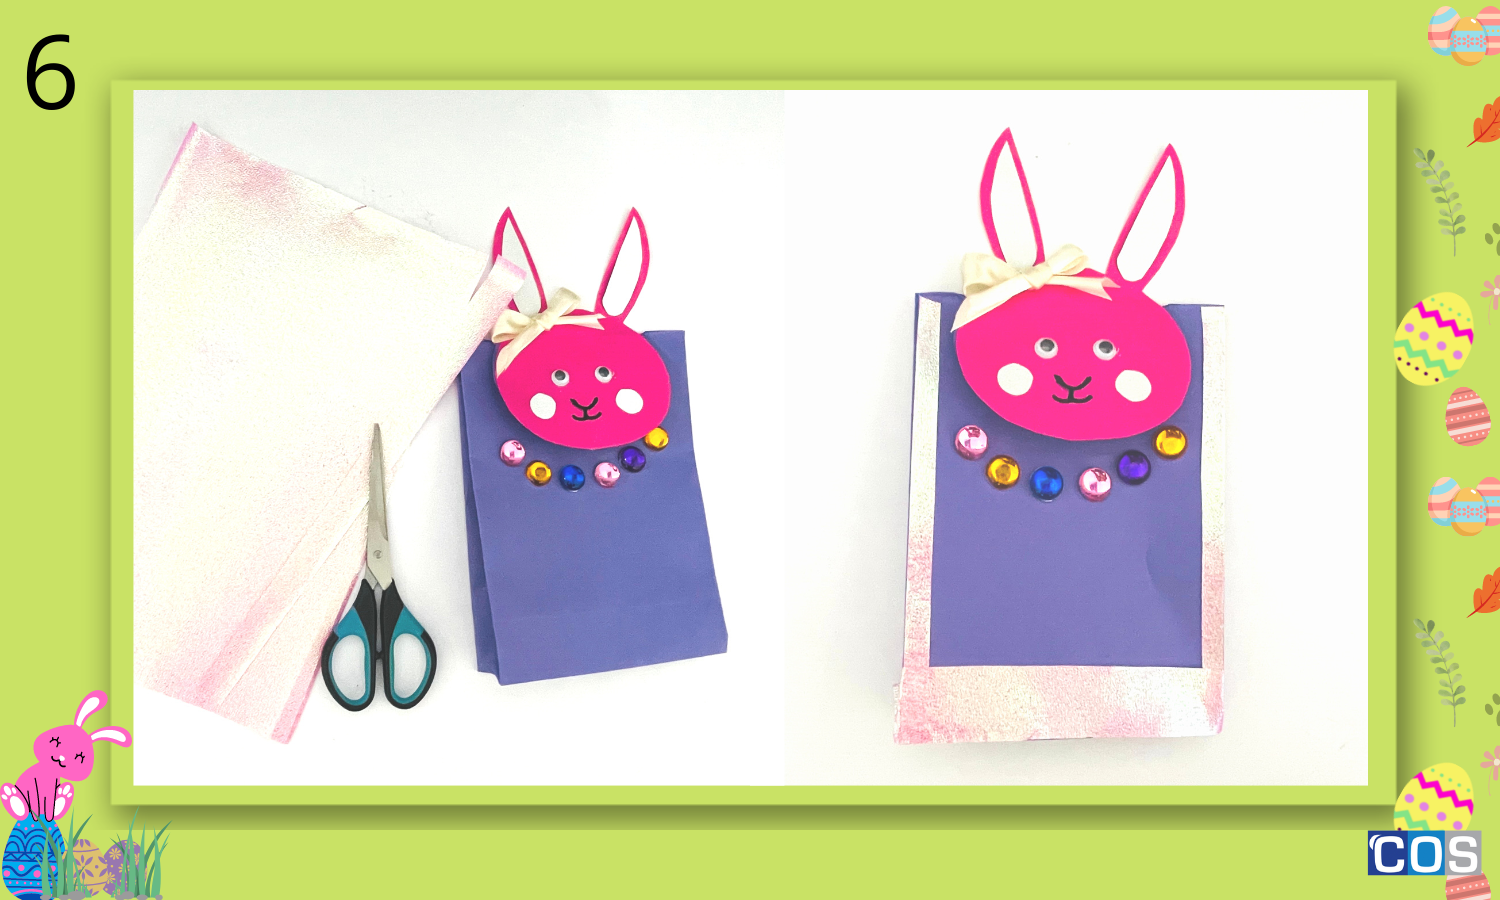
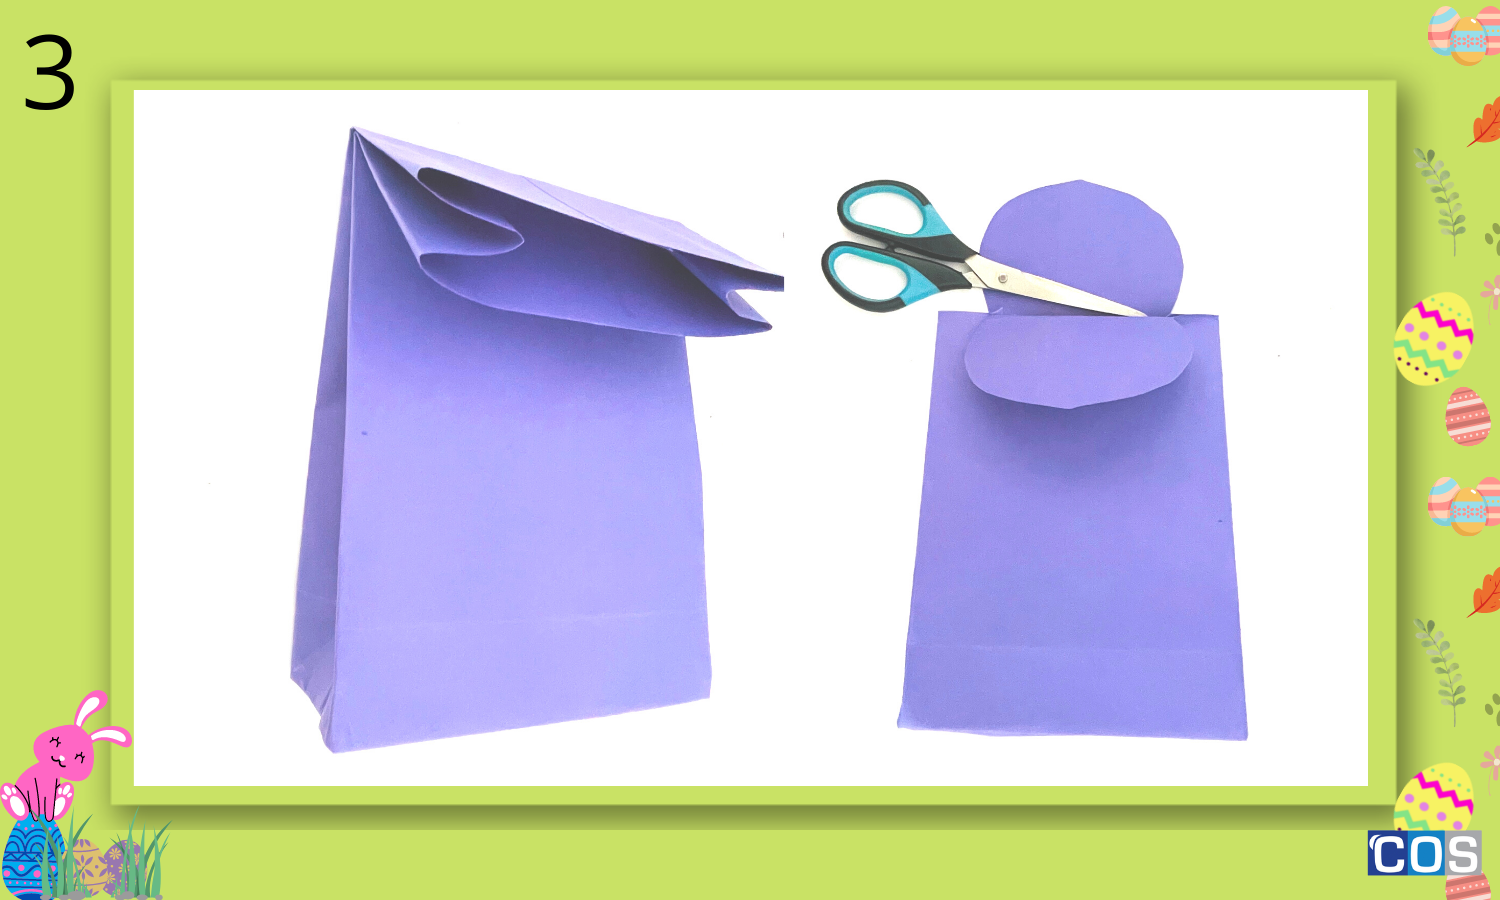
- Fold the treat bag from the top up to 7cm and take any round item (mug or compass), draw a circle in between and cut the remaining paper
- Take another craft paper to draw a bunny, keep it to make it exactly the same size as the circle you drew in the middle of the bag
- Cut out the rabbit shape and stick it on top of the existing circle
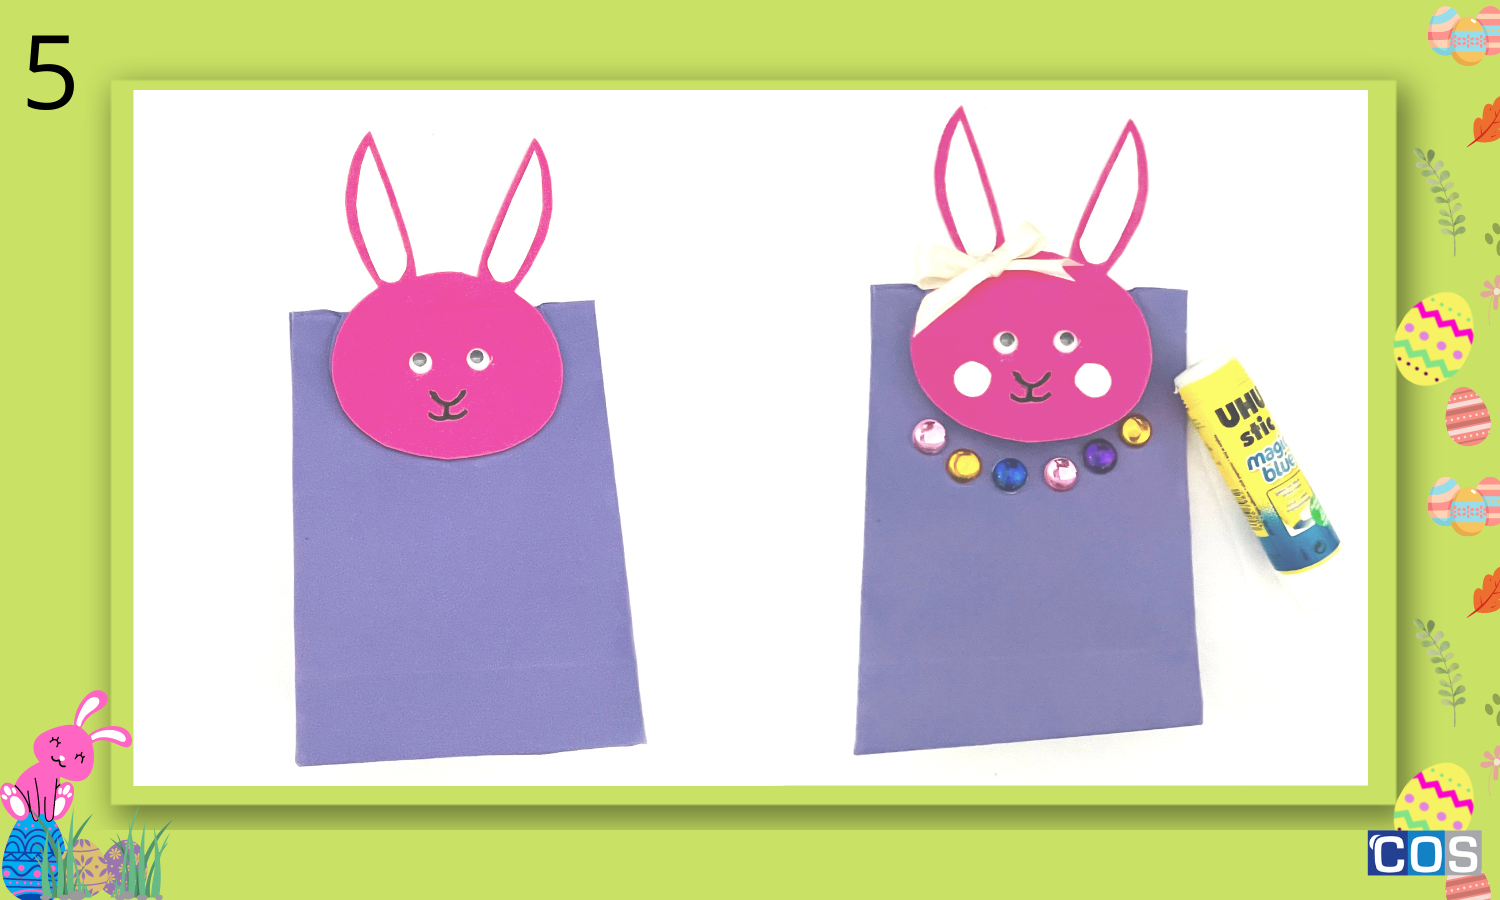
- Take a marker to draw eyes and mouth or you can use joggle eyes
- To create a contrast use different coloured copy paper to make ears and cheeks and stick them
- Decorate it with pom-pom/rhinestones or put a bow near the ears
Cute Chick Basket
Instructions:
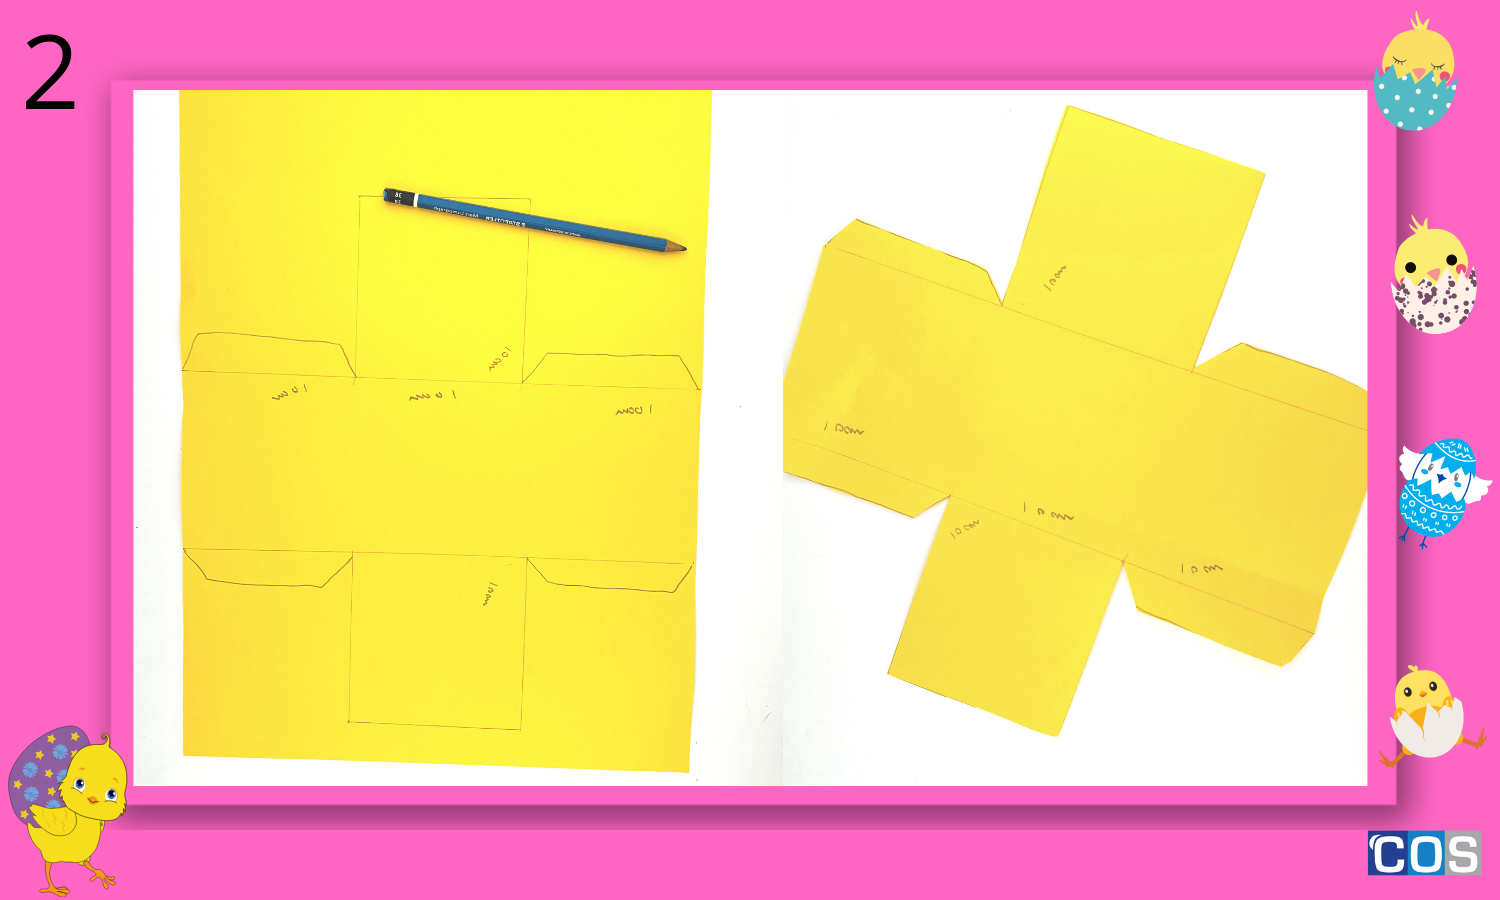
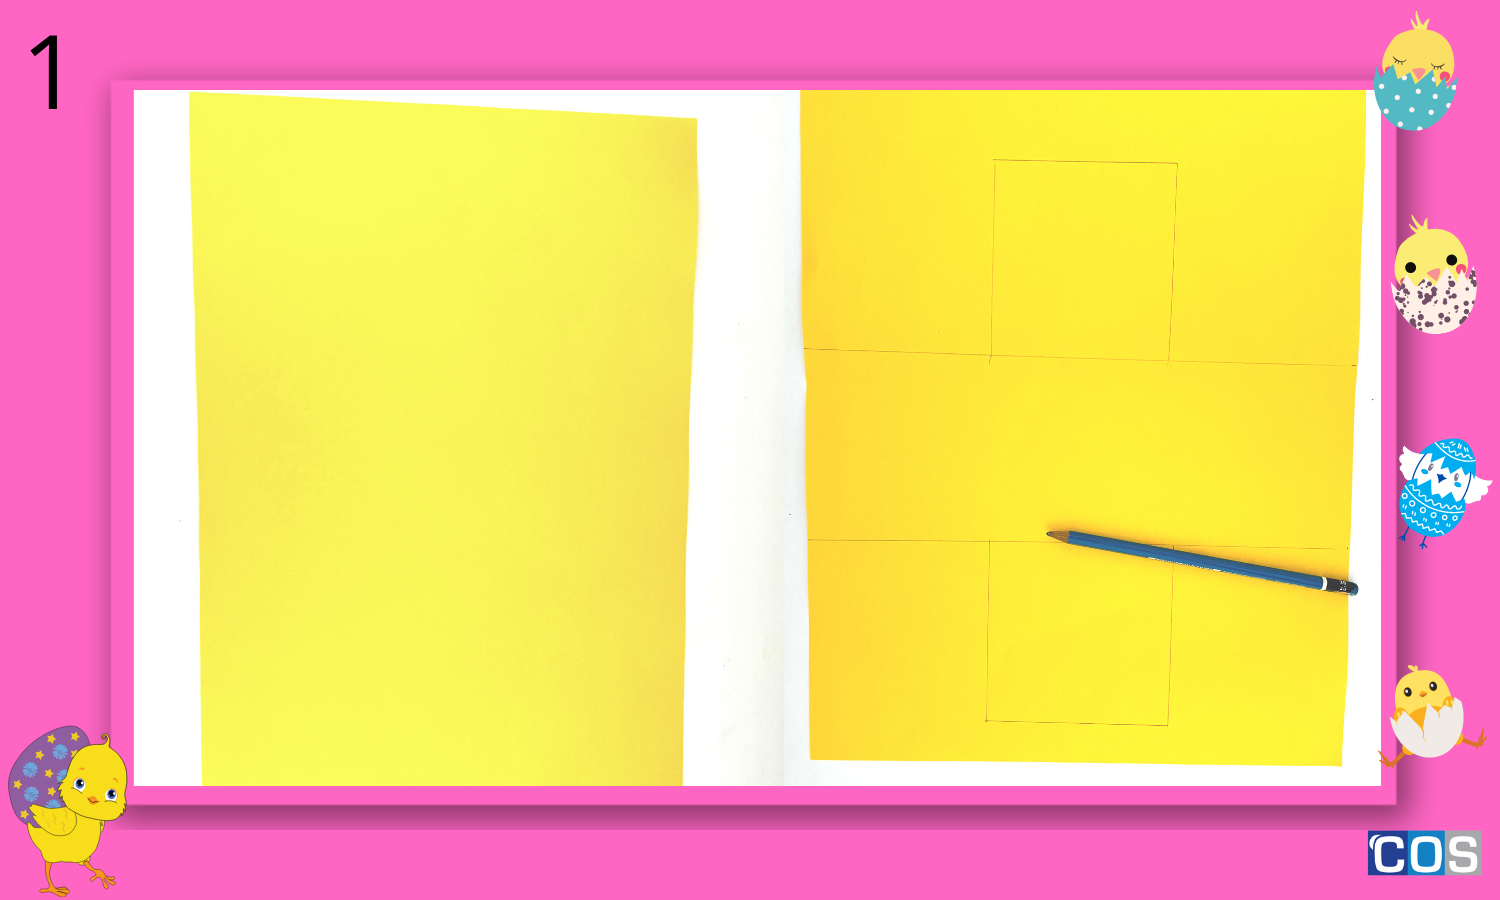
- Take A3 size yellow copy paper and draw 2 straight lines in the middle vertically and horizontally
- Use a scale to divide it into 4 sections. All 4 boxes need to be 10″ cm in width and length, as shown in the picture below
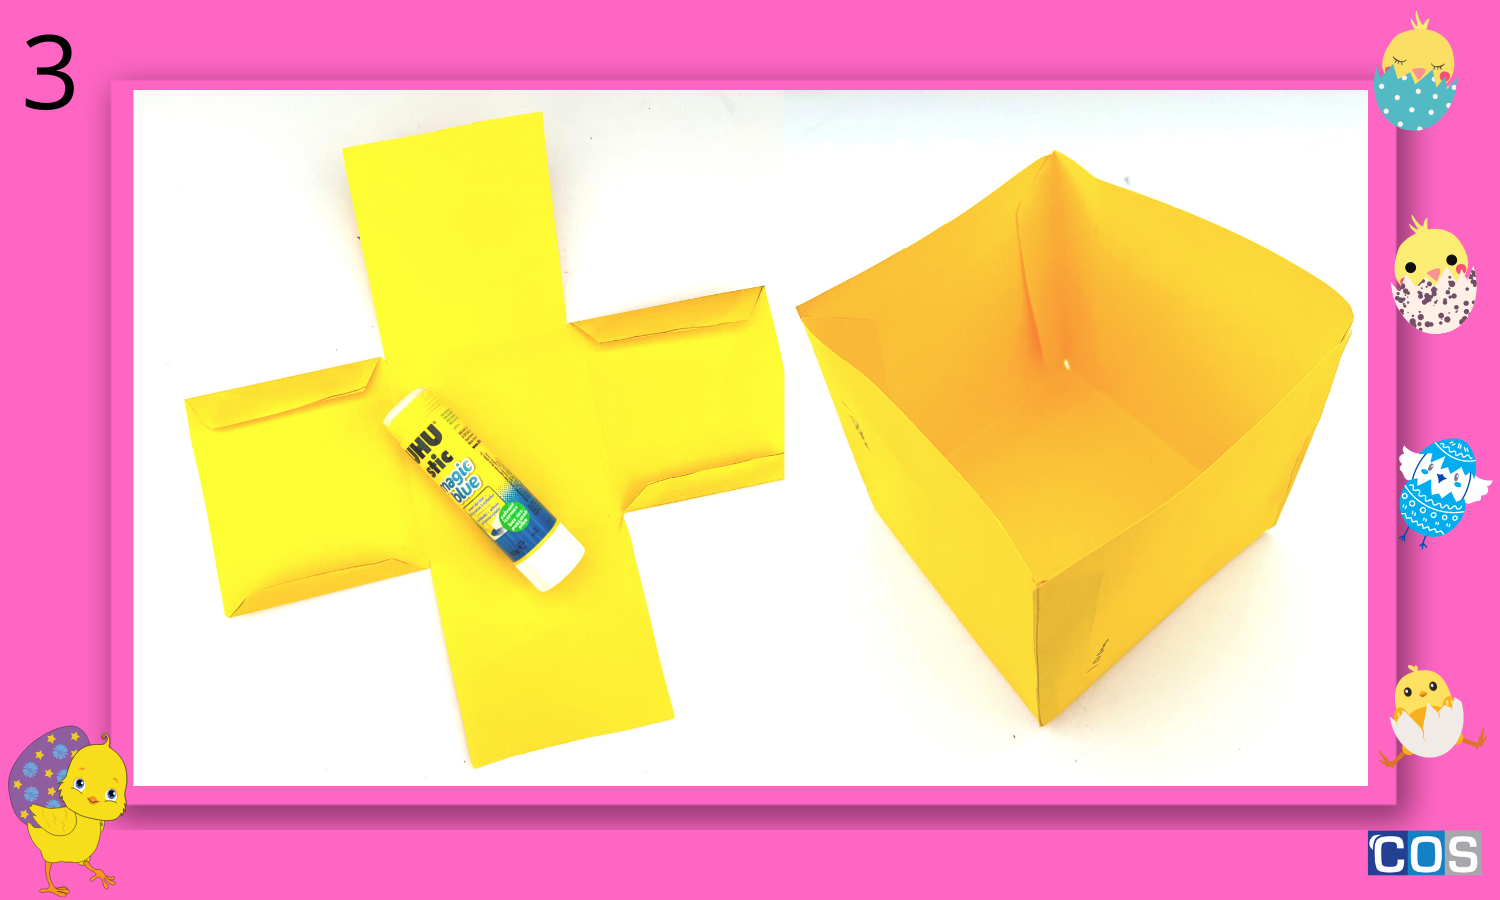
- Draw side flaps approx 2″ cm wide on 2 opposite side boxes
- Now put glue on the flaps and stick it to the sides of the paper as shown in image 3
- Your basket is ready, its time to decorate
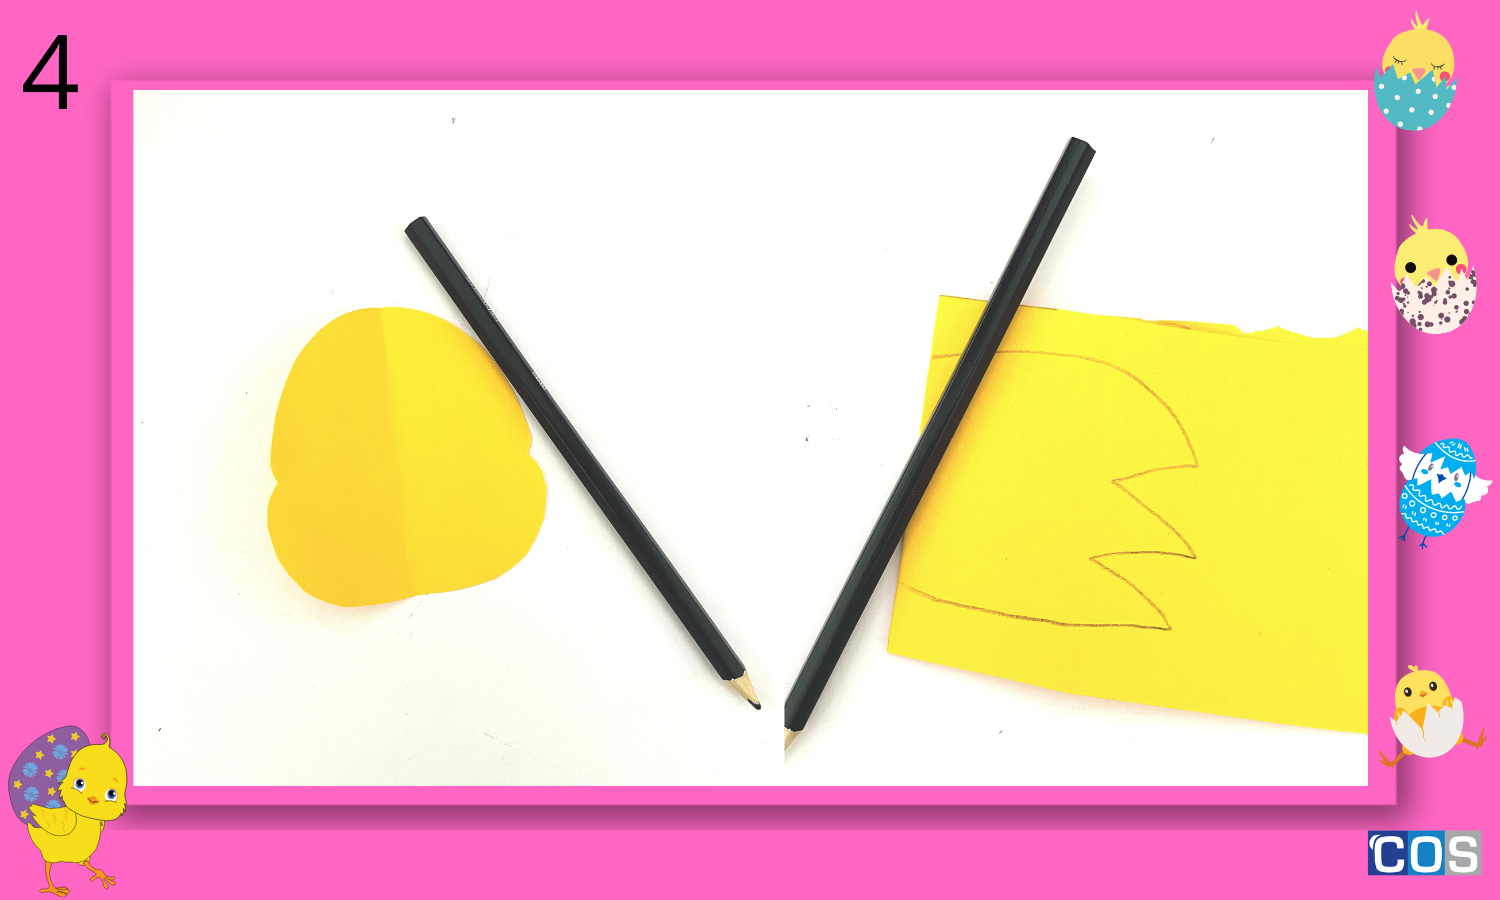
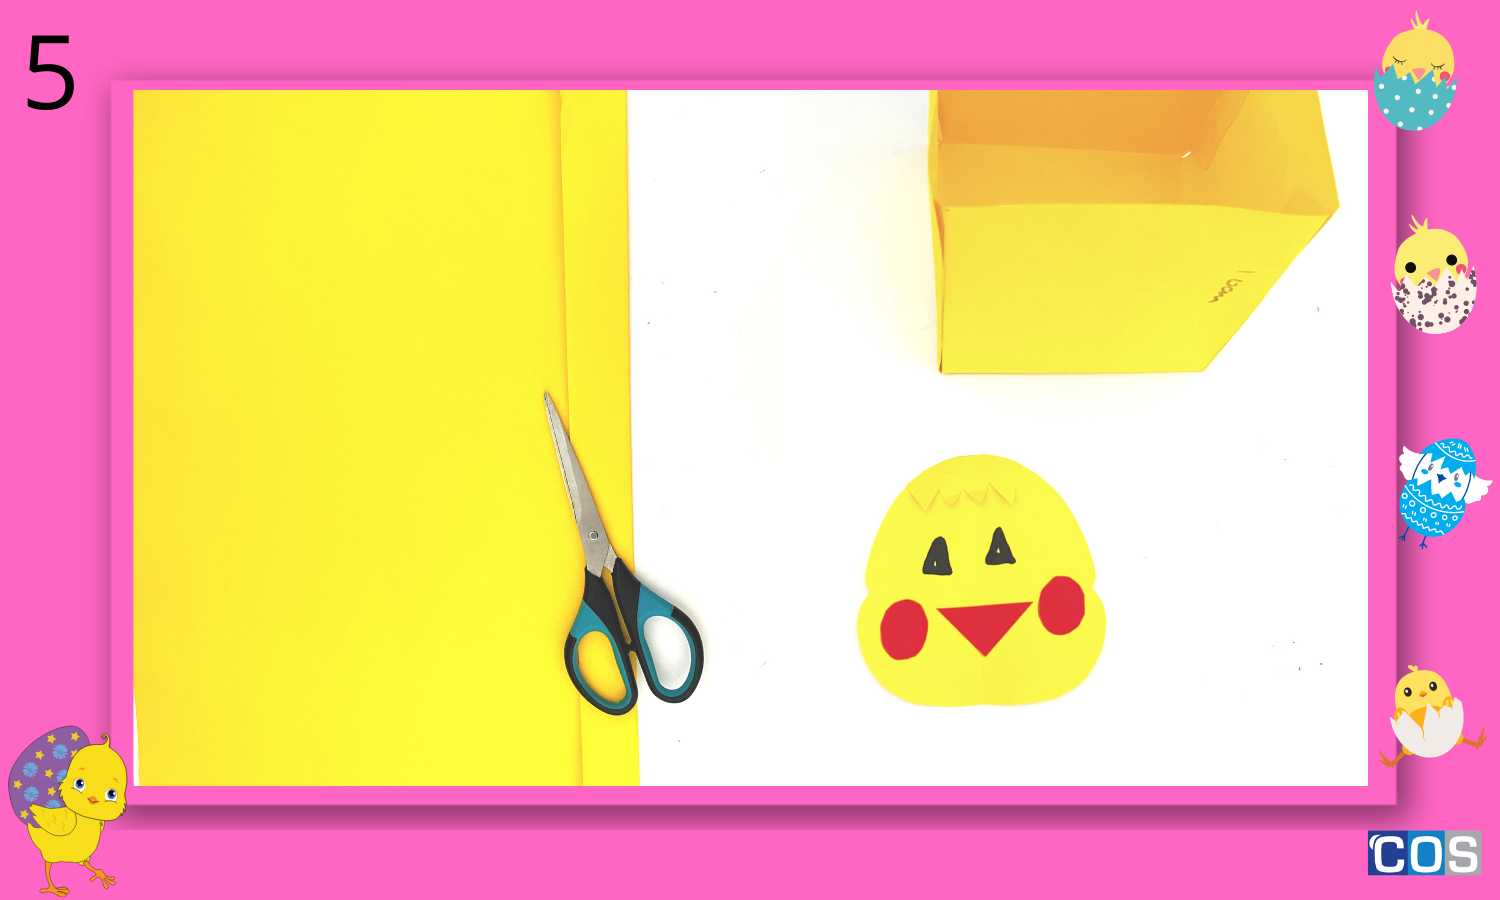
- Take another A4 copy paper and draw a chick face to place it in the middle of the basket
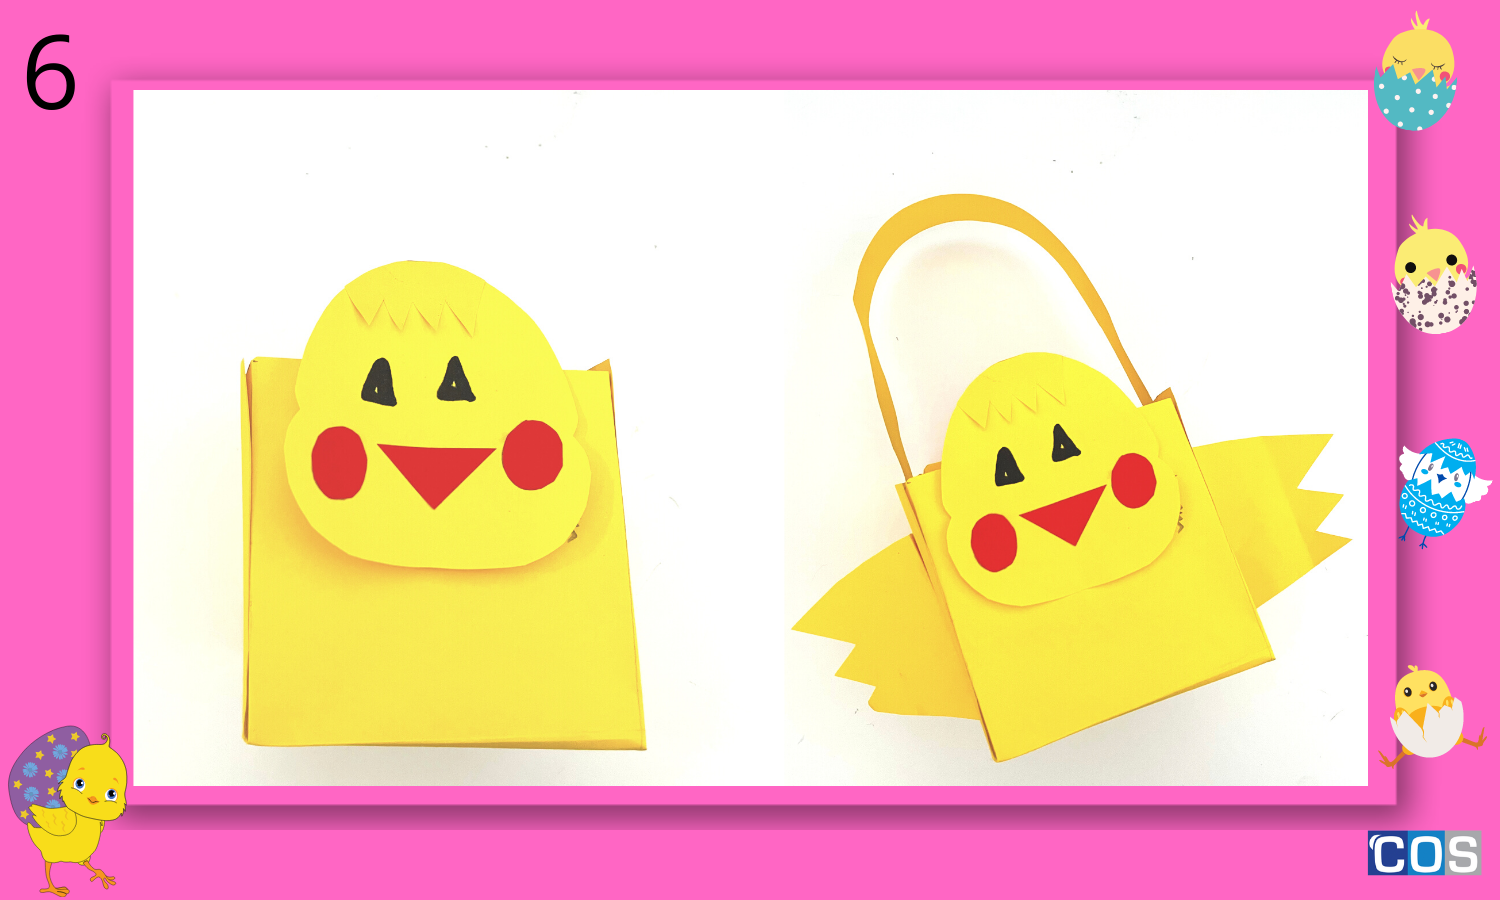
- Draw wings to put it on opposite sides, to make look like an actual chick. Stick them with the glue
- Take red coloured copy paper to draw red cheeks and a beak. Use a black marker to make eyes
- Take 4″ cm wide and 15 “cm long yellow paper to make the basket handles
- Your im-peck-able chick basket is ready for some treats!
These easy DIY easter treat bags will keep kids busily occupied while we all await the Easter Bunny’s arrival. After making these adorable Easter bunny paper bags pop in some tasty treats!! They’re perfect for confectionery items like Allen’s Snakes Alive or Jelly Beans!


