Teacher Appreciation Week is the perfect time to say a heartfelt thank you to the incredible teachers who help you learn, grow, and shine every day.
While it first began in the United States, this celebration offers a wonderful opportunity for Australian schools and workplaces to get involved and shine a well-deserved spotlight on the incredible contributions of teachers. It’s a chance to show appreciation, celebrate their dedication, and recognise the vital role they play in shaping future generations.
From teaching you new skills to inspiring you to be your best, teachers make a lasting impact on your life. This special week is a wonderful opportunity to show them just how much you appreciate everything they do.
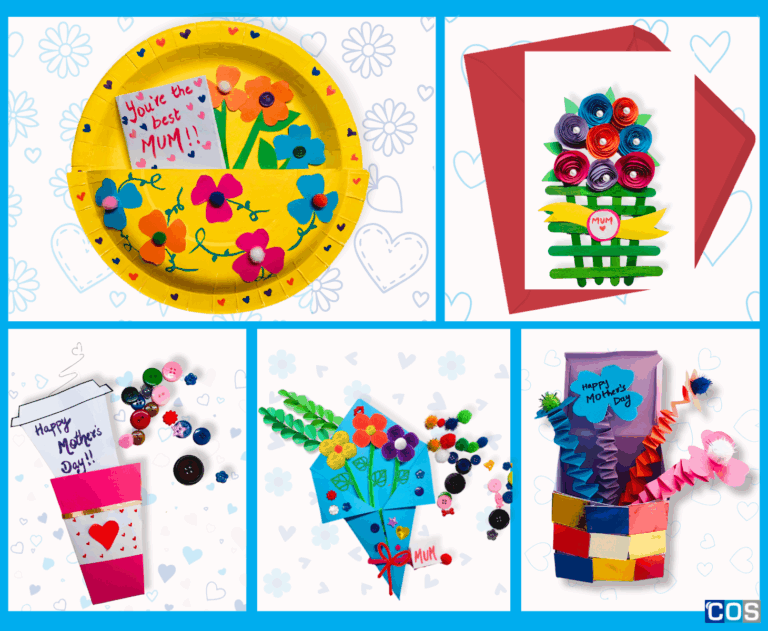
A handmade gift is a wonderful way to show your gratitude, and we’ve got some fun and easy craft ideas for you. We’ve created 3 fun worksheets that kids can complete at home or in the classroom.
These worksheets are easy to print and use, making them a fun and meaningful project for kids of all ages. Whether it’s a bunch of colourful flowers, a coffee mug bouquet, or a heartfelt card, these crafts are sure to bring a big smile to your teacher’s face!
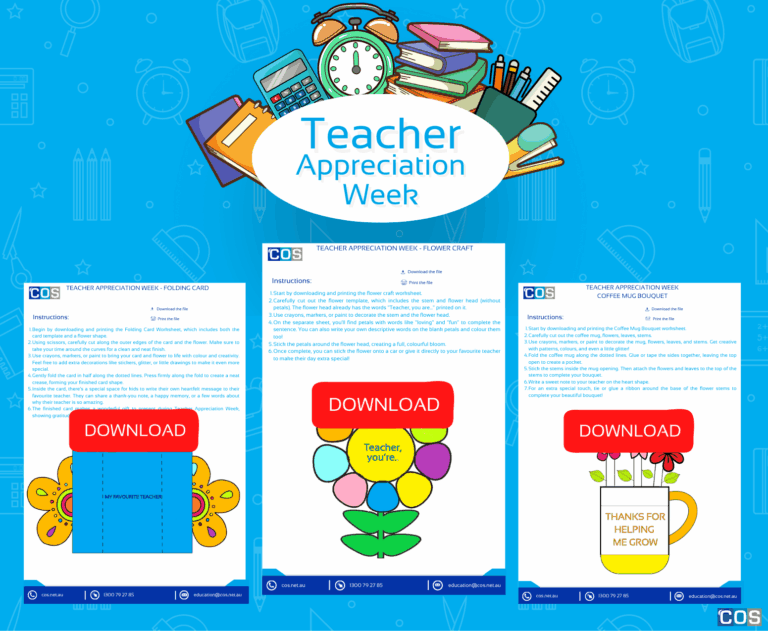
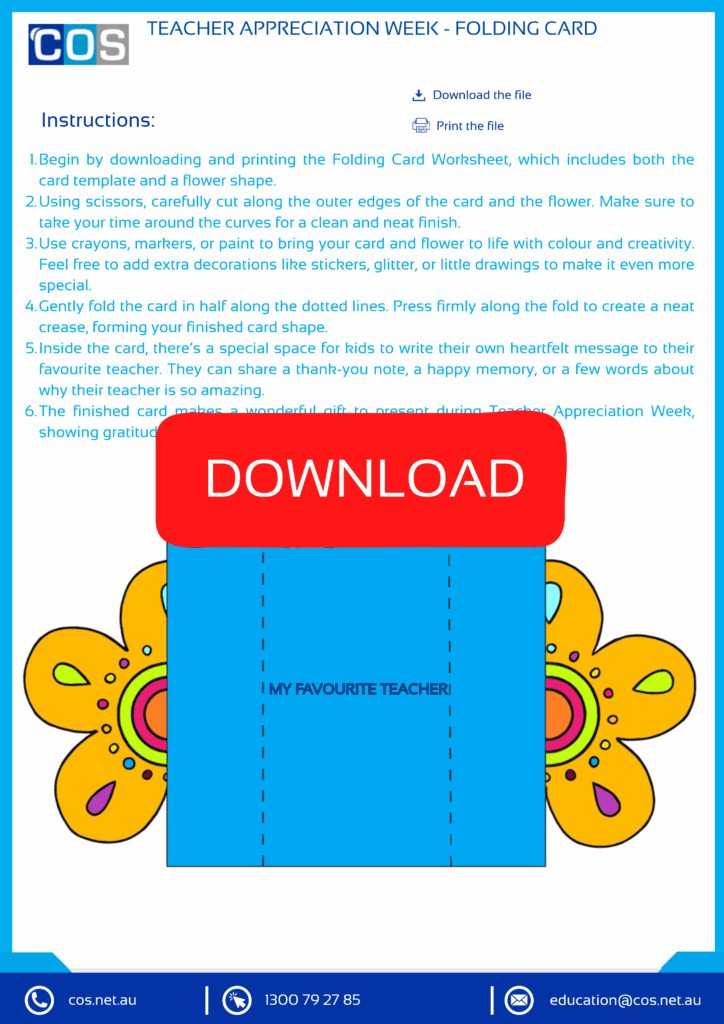
1. 3D Folding Card Worksheet
Sometimes, the best gift you can give is a few kind words straight from the heart. Our Folding Card Worksheet can help kids create a beautiful, personal card just for their favourite teacher. Decorate the outside, write a meaningful message inside, and fold it into a keepsake that shows just how much you care.
Step-by-Step Instructions:
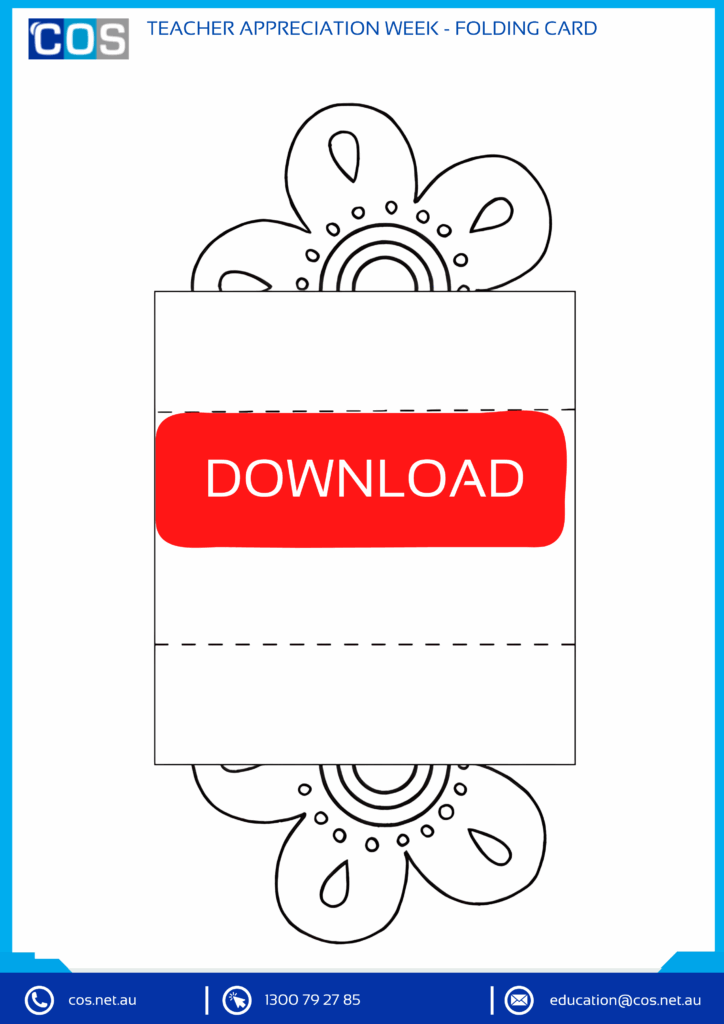
1. Print the Card Template: Start by downloading and printing the folding card template on a piece of paper.
2. Cut Out the Card Shape: Using scissors, carefully cut along the dotted lines to shape your card. Be sure to cut neatly, especially around the flower shape, to give it a crisp, clean look.
3. Decorate the Card: Colour and decorate your card with bright, cheerful colours. Add drawings, patterns, or any design that will make your teacher smile!
4. Write a Message Inside: On the inside of the card, write a personal thank-you note or a message about how much your teacher means to you.
5. Add Personal Touches: Draw pictures, add stickers, or write a funny joke or memory to make your card extra thoughtful.
6. Fold the Card: Once you’re happy with the front and inside of your card, carefully fold it along the dotted lines to make it into a neat, 3D card.
7. Give It to Your Teacher: Present your folded card to your teacher with a big smile, knowing it’s a gift they will treasure.
Download and print free fun and educational “3D Folding Card” worksheets here:
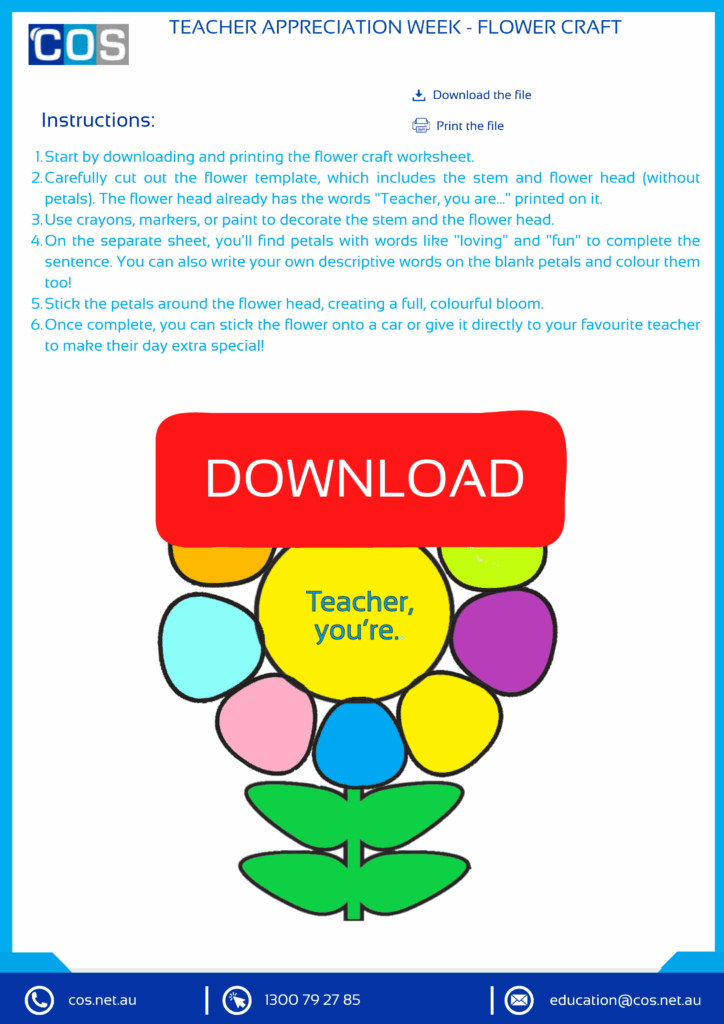
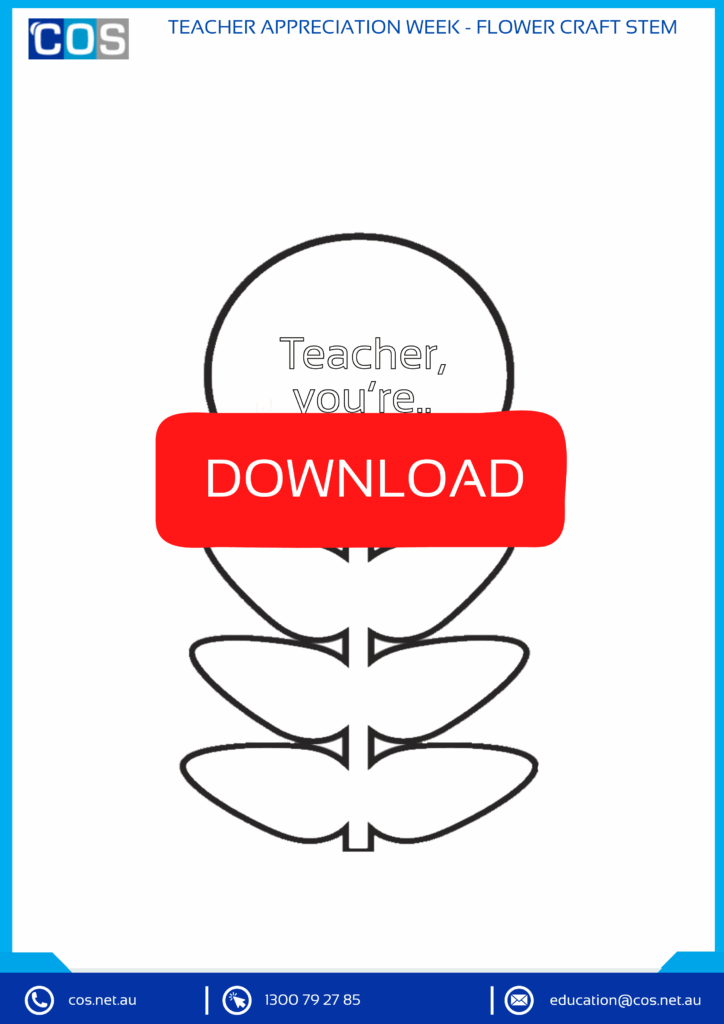
2. Flower Craft Worksheet
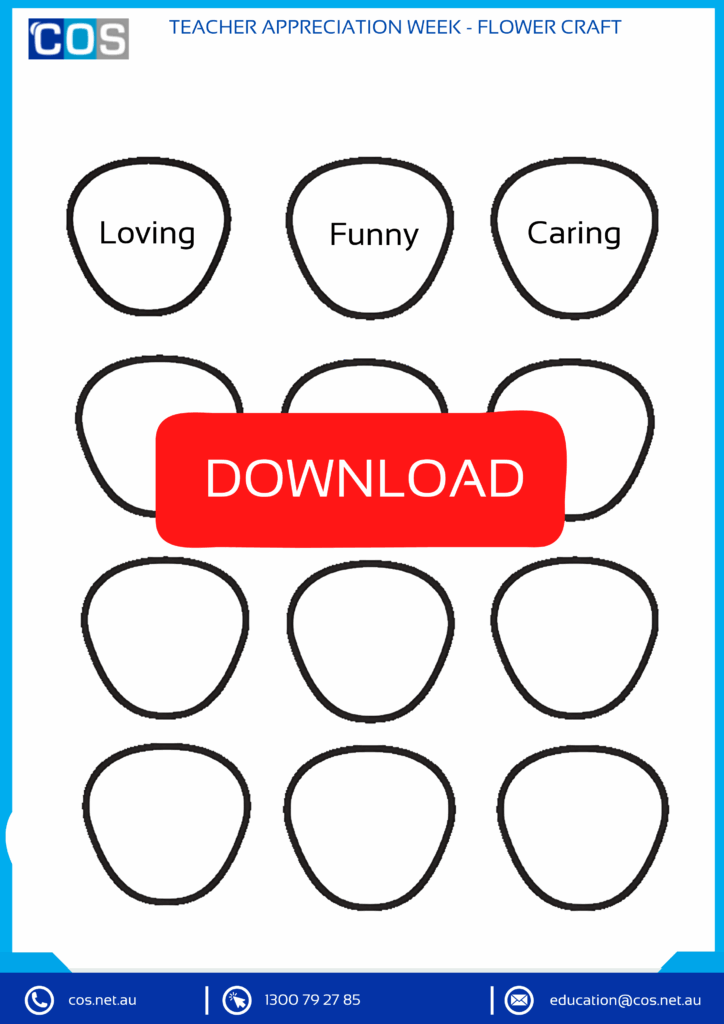
Flowers are a classic way to say “thank you” and you can create your very own bouquet with our Flower Craft Worksheet! Each flower petal can be coloured, decorated, and filled with special messages to show your teacher just how much they mean to you. It’s a fun, creative way to brighten their day with a handmade gift that will last forever.
Step-by-Step Instructions:
1. Print the Flower Craft Template: Begin by downloading and printing the Flower Craft Worksheet template onto your preferred paper.
2. Add Special Messages: On each petal, write a thoughtful message for your teacher, like “Thank you!” or “You’re amazing!” You can also add your teacher’s name, a cute drawing, or a fun design.
3. Colour the Petals and Stems: Use your favourite crayons, coloured markers, or coloured pencils to colour in each petal and stem with bright, vibrant colours.
4. Cut Out the Petals: Carefully cut along the lines to cut each petal. Take your time to make sure the edges are neat and smooth.
5. Assemble Your Bouquet: Glue the petals around the central circle to form a beautiful flower. Feel free to layer the petals to create a fuller, more colourful bloom.
7. Gift It: Once your flower bouquet is ready, you can present it on a card or tie it with a ribbon for a sweet, personalised gift that your teacher will cherish.
Download and print free fun and educational “Flower Craft” worksheets here:
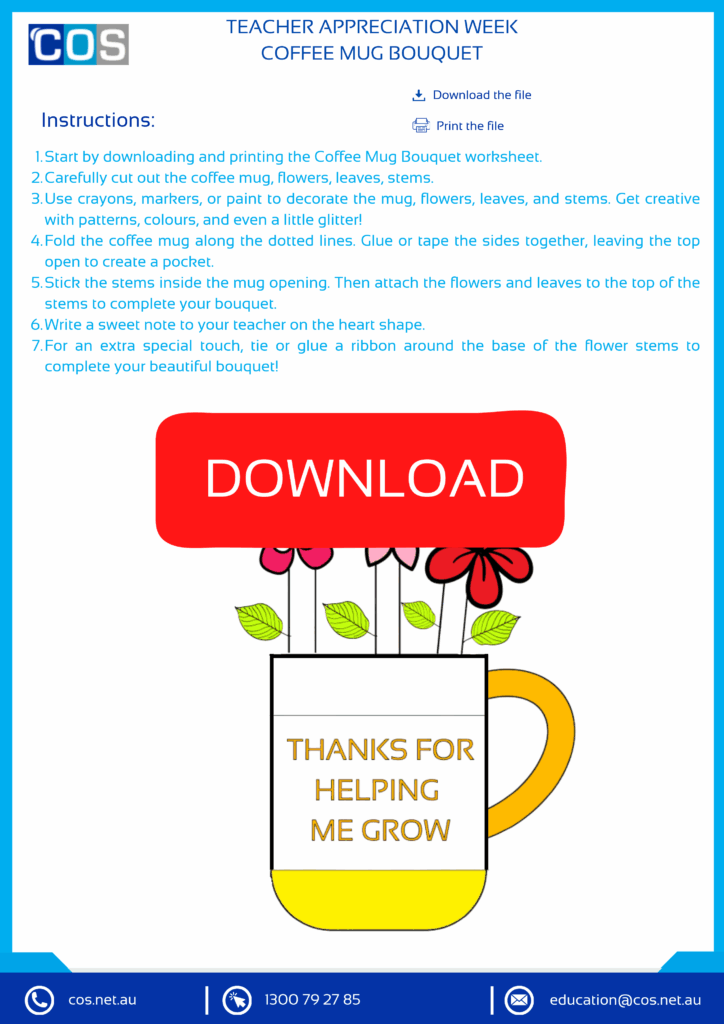
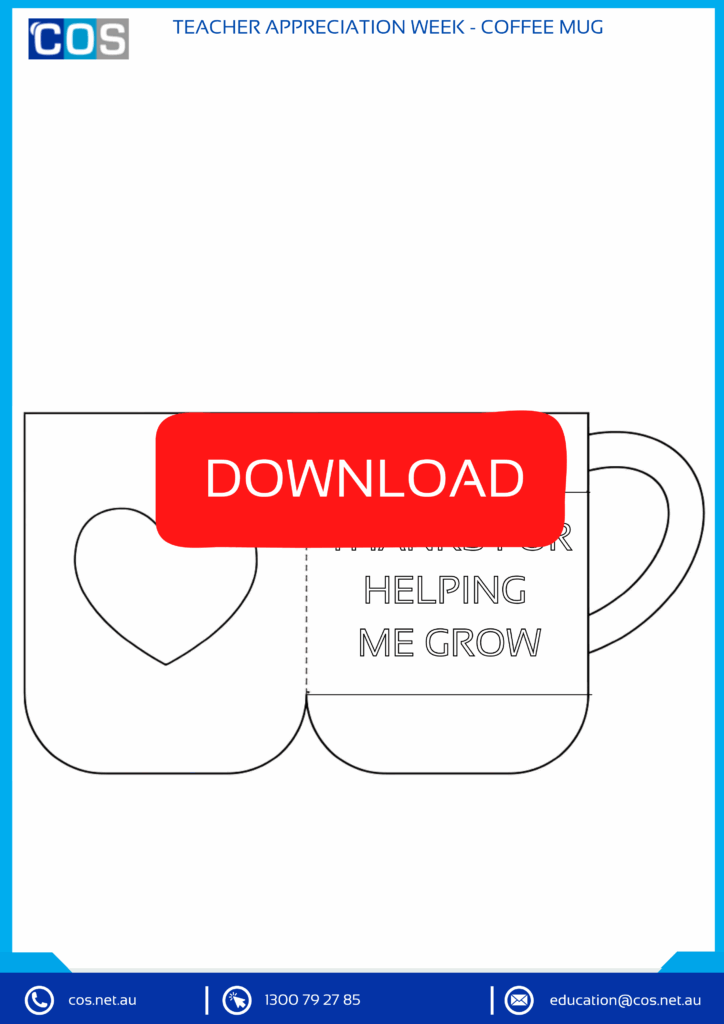
3. Coffee Mug Bouquet
A coffee mug full of colourful, heartfelt flowers! Our Coffee Mug Bouquet Worksheet can helpp kids design a special mug bursting with love and appreciation. Add bright colours, personal messages, and thoughtful touches to create a one-of-a-kind gift your teacher will adore.
Step-by-Step Instructions:
1. Print the Coffee Mug Template: Begin by printing the coffee mug template and the flowers, petals, and leaves.
2. Decorate the Coffee Mug: Colour in the coffee mug with bright, cheerful colours. You can even add little hearts, stars, or your teacher’s favourite designs!
3. Colour and Cut Out the Flowers: Colour the flowers in fun shades and cut them out carefully along the lines.
4. Arrange the Flowers: Once the flowers, leaves, and stems are cut out, glue them to the top of the coffee mug template to make them appear like a bouquet coming out of the cup.
4. Write Special Messages: Write a personal note for your teacher, like “Thank you for helping me bloom!” or “You’re the best teacher ever!” on the heart.
6. Display Your Creation: You can gift the mug bouquet as it is or attach a small thank-you note for an extra personal touch!
Download and print free fun and educational “Coffee Mug Bouquet” worksheets here:

For even more creative and fun craft worksheets, check out our Teacher Aide Appreciation Week – DIY Paper Bouquet Worksheet and Teacher Appreciation: Printable Craft Worksheets for Kids and Preschoolers. These additional worksheets offer even more hands-on activities to help children express their gratitude and appreciation in unique, meaningful ways.
Whether it’s crafting a paper bouquet or making a heartfelt card, these activities are perfect for students to showcase their creativity while celebrating the hardworking educators who make a difference every day!